
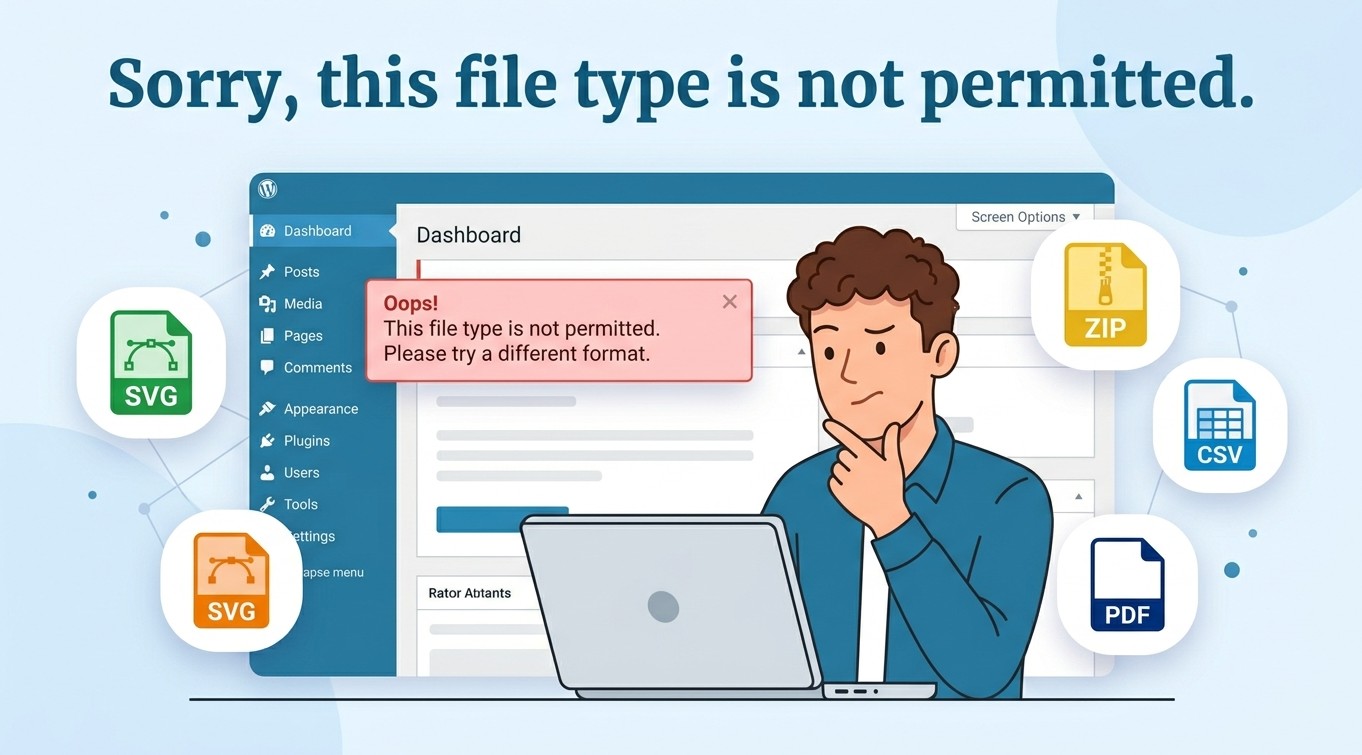
You are trying to upload a file to your WordPress site and out of nowhere you get hit with this message: “Sorry, this file type is not permitted for security reasons.” Frustrating, right? This is one of the most common upload errors WordPress users run into – and the good news is it is completely fixable, even if you have never touched a line of code before.
In this guide, you will learn exactly why the file type not permitted WordPress error appears and how to fix it using multiple methods – from simple plugin solutions to editing your theme files. Whether you are a beginner or someone with a bit of WordPress experience, at least one of these fixes will work for you.
Table of Contents
What Causes the “Sorry, This File Type Is Not Permitted” Error? Let’s resolve file type not permitted WordPress issue
WordPress has a built-in list of file types it allows users to upload through the Media Library. By default, it accepts common formats like JPG, PNG, GIF, PDF, MP3, and MP4. If you try to upload anything outside of that approved list – like an SVG, WebP (on older installations), CSV, or ZIP file – WordPress blocks it and throws this error.
This restriction exists for a good reason. Allowing unrestricted file uploads can be a serious security risk. A malicious user could upload a PHP or executable file disguised as something harmless. So WordPress plays it safe by blocking less common file types by default.
However, there are plenty of legitimate reasons you might need to upload a file that WordPress does not allow by default. For example:
- Uploading SVG icons for your theme or page builder
- Sharing downloadable ZIP files or PDF portfolios
- Adding JSON or XML files for import/export
- Uploading WebP images on older WordPress versions
Understanding this helps you choose the right fix without compromising your site’s security.
Method 1: Use a Plugin to Allow Additional File Types (Easiest Method)
If you are not comfortable editing code, this is the safest and most beginner-friendly way to fix the upload restriction in WordPress.
Using the WP Extra File Types Plugin
- Go to your WordPress dashboard and navigate to Plugins > Add New
- Search for WP Extra File Types
- Install and activate the plugin
- Go to Settings > Extra File Types
- Check the boxes next to the file types you want to allow (e.g., SVG, WebP, CSV, ZIP)
- Click Save Changes
That is it. Now try uploading your file again – it should go through without any issues.
Pro Tip: Only enable file types you actually need. Enabling every file type “just in case” is not a good practice and can create unnecessary security exposure.
Method 2: Add Code to Your functions.php File
This method is slightly more technical but does not require any plugin. You will add a small snippet of code to your theme’s functions.php file to whitelist specific file types.
Warning: Always back up your site before editing theme files. A typo can break your site. If you are not confident about editing files directly, use the plugin method above instead. You can also check out our guide on best WordPress backup plugins to keep your site safe before making changes.
Steps to Add the Code
- Go to Appearance > Theme File Editor in your WordPress dashboard
- Select your active theme’s functions.php file from the right-hand panel
- Scroll to the bottom of the file and add the following code:
function allow_custom_upload_mimes( $mimes ) {
    $mimes['svg'] = 'image/svg+xml';
    $mimes['webp'] = 'image/webp';
    $mimes['csv'] = 'text/csv';
    $mimes['zip'] = 'application/zip';
    return $mimes;
}
add_filter( 'upload_mimes', 'allow_custom_upload_mimes' );- Click Update File
You can add or remove file types from this list by changing the MIME type values. Just search for the correct MIME type for any format you need online.
Pro Tip: If you are using a child theme, always add this code to the child theme’s
functions.phpto prevent it from being overwritten during theme updates. Check our tutorial on how to create a custom WordPress theme for more on this.
Method 3: Use the wp-config.php File
Another way to fix the file type not permitted error in WordPress is by adding a constant to your wp-config.php file. This method is especially useful if the issue is coming from WordPress’s newer file type verification checks (introduced in WordPress 5.1).
Steps:
- Connect to your site via FTP or use your hosting file manager
- Open the
wp-config.phpfile (it is in the root directory of your WordPress installation) - Add the following line just above the line that says
/* That's all, stop editing! */:
define( 'ALLOW_UNFILTERED_UPLOADS', true );- Save the file and re-upload
Important: This constant gives administrator-level users the ability to upload any file type – including potentially dangerous ones. Only use this method if you are the only admin on your site or you fully trust all admin users. Remove it once you are done uploading if possible.
Method 4: Fix the SVG Upload Error Specifically
SVG files are blocked by WordPress by default because they can contain embedded scripts. But SVGs are extremely common in modern web design – logos, icons, and illustrations are often in SVG format.
If you are specifically trying to fix the SVG upload restriction, the cleanest solution is to use the Safe SVG plugin.
Using the Safe SVG Plugin
- Go to Plugins > Add New
- Search for Safe SVG
- Install and activate it
- That is all – it sanitizes SVG files before allowing upload, making it a secure option
This is a much safer alternative to just allowing SVG files blindly through the upload_mimes filter, because it actively cleans the file before it reaches your Media Library.
Method 5: Check Your Hosting Server Settings
Sometimes the issue is not with WordPress itself but with your hosting server’s configuration. Some hosting providers restrict certain file types at the server level, which means even if WordPress allows them, the server will block the upload.
If you are dealing with restrictive hosting that limits what you can do, it might be time to consider a more flexible option. Hostinger offers beginner-friendly hosting with fewer restrictions, great performance, and affordable pricing – perfect for growing WordPress sites.
What to Do
- Contact your hosting support and ask if they have any file upload restrictions in place
- Check your PHP configuration – some hosts limit uploads based on file type at the PHP level
- If you manage your own server, look into your php.ini or .htaccess settings
Common settings that can affect uploads include:
upload_max_filesize– limits the maximum file size, not type, but often causes similar errorspost_max_size– related to the total size of POST data- Security modules like ModSecurity that can block specific MIME types
Method 6: Update WordPress and Plugins
This might sound too simple, but sometimes the “file type not permitted” error appears after a plugin conflict or an outdated WordPress installation changes how MIME types are handled.
Before trying more complex fixes, make sure:
- Your WordPress core is up to date
- All plugins are updated to their latest versions
- Your active theme is up to date
Go to Dashboard > Updates and apply all available updates. This has resolved the issue for many users, especially after a WordPress major release.
If you suspect a plugin is causing the conflict, try deactivating all plugins temporarily and then re-uploading the file. If it works, reactivate plugins one by one to identify the culprit. This is a common troubleshooting step mentioned in our guide on common WordPress errors.
How to Check Which File Types WordPress Allows by Default
If you are curious about what WordPress already supports before trying any fix, here is a quick way to check:
- Go to Media > Add New in your dashboard
- Try dragging a file – if it is blocked, you will see the error immediately
- Alternatively, use this PHP snippet in a test environment to print all allowed MIME types:
var_dump( get_allowed_mime_types() );This gives you the full list that WordPress currently recognizes, which helps you figure out exactly which MIME type to add.
Common Mistakes to Avoid
Many users make these mistakes when trying to fix the upload restriction in WordPress:
- Using ALLOW_UNFILTERED_UPLOADS permanently – This constant should only be a temporary fix for specific tasks. Leaving it active long-term is a security risk.
- Adding incorrect MIME types – Every file type has a specific MIME type string. For example, SVG is
image/svg+xml, notimage/svg. Double-check before adding. - Editing the parent theme’s functions.php – Any theme update will wipe your changes. Always use a child theme or a site-specific plugin for code snippets.
- Allowing all file types without understanding the risk – Some file types like
.php,.exe, or.jscan be exploited if uploaded by the wrong person. Be selective. - Not backing up before making changes – This is the golden rule. Always back up first. See our list of best WordPress backup plugins to automate this.
Which Method Should You Choose?
Here is a quick summary to help you pick the right fix:
| Situation | Recommended Method |
|---|---|
| You are a beginner and want the easiest fix | WP Extra File Types Plugin |
| You only need SVG support | Safe SVG Plugin |
| You are comfortable with code and want no plugin | functions.php snippet |
| You need a quick temporary fix | ALLOW_UNFILTERED_UPLOADS constant |
| The issue is at the server level | Contact hosting support |
Frequently Ask Questions (FAQ)
Why does WordPress block certain file types?
WordPress restricts uploads to a predefined list of safe file types to protect your site from malicious uploads. Files like .php or .exe could be used to inject harmful code into your server if uploaded through the media library.
Is it safe to allow SVG uploads in WordPress?
SVG files can contain embedded scripts, which makes them potentially risky. However, using a dedicated plugin like Safe SVG sanitizes the file before it is saved, making it a reasonably safe option for most sites.
Can I allow ZIP file uploads in WordPress?
Yes. You can allow ZIP file uploads by adding the correct MIME type (application/zip) to the allowed list using either the upload_mimes filter in functions.php or a plugin like WP Extra File Types.
Will fixing the upload restriction affect my site’s security?
It depends on the method. Using a trusted plugin or carefully adding specific MIME types carries minimal risk. However, enabling ALLOW_UNFILTERED_UPLOADS in wp-config.php is a stronger change that gives full upload freedom to admin users – use it with caution and only temporarily.
What is the difference between file size and file type errors in WordPress?
File size errors appear when your file exceeds the maximum upload size (set in your PHP configuration). File type errors appear when the format you are uploading is not on WordPress’s allowed list. They require different fixes.
Does this error only happen in the Media Library?
Mostly yes, but it can also appear in plugin-specific upload areas (like WooCommerce product files or form builders). In those cases, you may need to configure upload settings within the plugin itself, in addition to the WordPress-level fixes above.
Conclusion
The “Sorry, this file type is not permitted” error is annoying, but it is not a dead end. WordPress blocks certain file types for security reasons, and with the right approach you can safely allow the formats you need without putting your site at risk.
To recap, here are your main options:
- Use the WP Extra File Types plugin for a quick, no-code fix
- Add a MIME type filter to functions.php if you prefer a code-based approach
- Use the Safe SVG plugin specifically for SVG uploads
- Check with your host if the issue seems server-related
- Use ALLOW_UNFILTERED_UPLOADS as a last resort, temporarily
If you found this guide helpful, leave a comment below and let us know which method worked for you. You might also want to read through our guide on common WordPress errors to get ahead of other issues you might run into, or learn how to properly secure your WordPress site so you are never caught off guard.