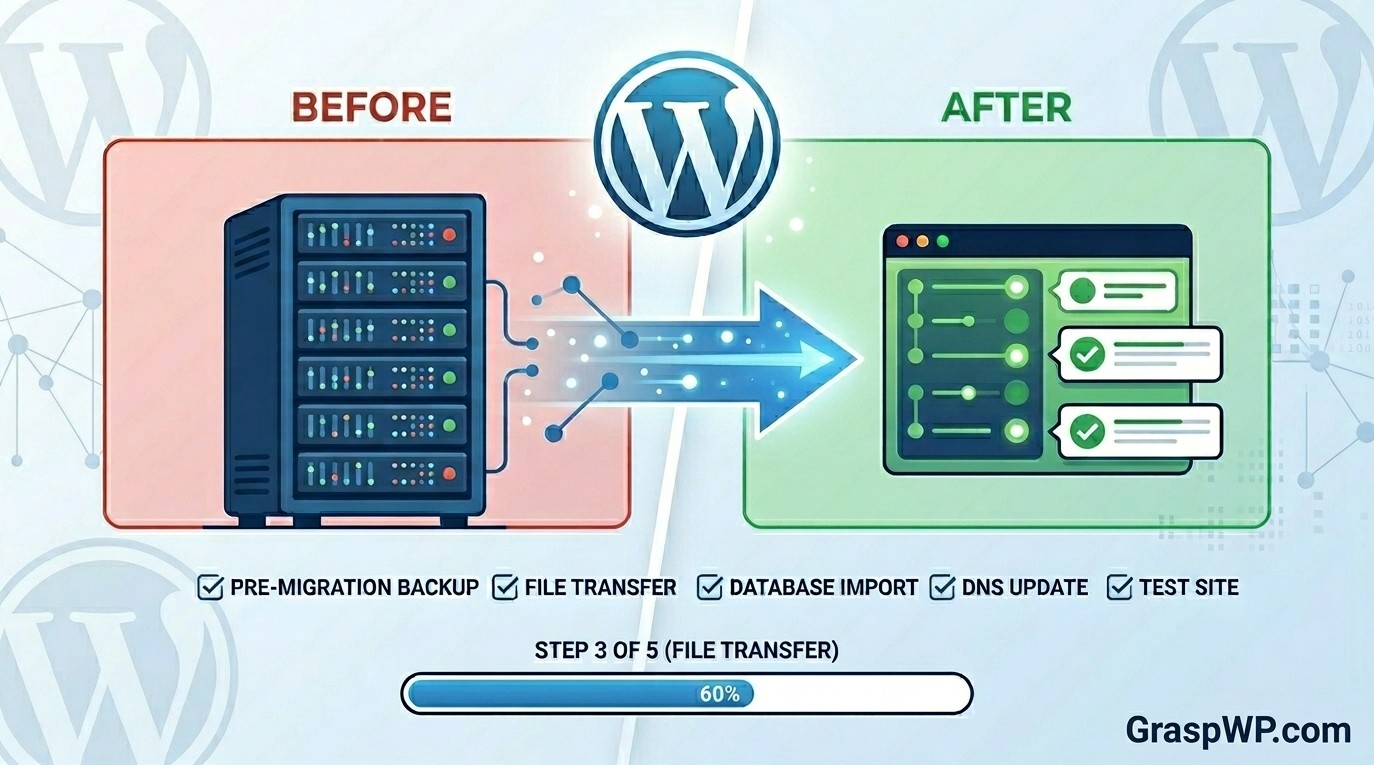
Switching web hosts is one of those tasks that sounds scary – but it does not have to be. Whether your current host is slow, overpriced, or just not reliable anymore, knowing how to migrate your WordPress site to a new host is a skill every website owner should have.
In this migrate WordPress site to new host guide, you will get a clear, step-by-step walkthrough – no technical jargon, no guesswork. By the end, your site will be running on a new host, with everything intact: your posts, pages, images, plugins, and settings.
Let’s get into it.
Table of Contents
What You Need Before You Start
Before you transfer your WordPress site, make sure you have the following ready:
- A new hosting account – If you have not picked one yet, Hostinger is a solid choice for beginners and offers excellent performance at an affordable price.
- Access to your current hosting control panel (cPanel or similar)
- FTP credentials or File Manager access
- Your domain login (if you are also moving your domain)
- About 1-2 hours of uninterrupted time
Pro Tip: Do not cancel your old hosting until your site is fully live on the new one. Overlapping for a few days is always a smart move.
Method 1 – Migrate Using a Plugin (Recommended for Beginners)
To migrate WordPress site to new host this is the easiest and most reliable method for most WordPress users. You will use a free plugin called Duplicator to create a complete package of your website and deploy it on the new host.
Step 1 – Install and Set Up Duplicator on Your Current Site
- Go to your WordPress dashboard
- Navigate to Plugins > Add New
- Search for Duplicator
- Install and activate it
Once activated, go to Duplicator > Packages and click Create New.
Walk through the setup wizard. For most sites, the default settings work fine. Click Build and wait for the process to finish.
Step 2 – Download the Two Files
After the build completes, you will see two files available for download:
- The Installer (a PHP file named
installer.php) - The Archive (a
.zipfile containing your entire website)
Download both to your computer. Keep them in the same folder.
Step 3 – Set Up Your New Hosting Account
Log in to your new hosting account and do the following:
- Create a new database – Go to cPanel > MySQL Databases. Create a new database, a new user, and assign that user to the database with all privileges. Write down the database name, username, and password.
- Upload both Duplicator files – Open File Manager in cPanel (or use FTP). Navigate to the
public_htmlfolder. Upload the.ziparchive and theinstaller.phpfile there.
Pro Tip: If your archive file is larger than 512MB, some hosts block large uploads via File Manager. In that case, use an FTP client like FileZilla for a more stable upload.
Step 4 – Run the Installer
Now open your browser and go to:
http://yournewdomain.com/installer.php
The Duplicator installer will launch. Follow these steps:
- Accept the terms and click Next
- Enter your new database details (name, user, password, host – usually
localhost) - Click Validate to confirm the connection works
- Click Next, then Install
Once complete, you will be prompted to log in to your WordPress dashboard on the new host.
Step 5 – Update Your WordPress URL Settings
After logging in, go to Settings > General and confirm that both the WordPress Address and Site Address fields match your new domain.
If you are keeping the same domain, this step may not be needed right away – but it is worth double-checking.
Method 2 – Migrate WordPress Manually (For Intermediate Users)
To migrate WordPress site to new host if you prefer more control – or if the plugin method did not work for your setup – you can move your WordPress site manually. This involves two parts: migrating the files and migrating the database.
Step 1 – Export Your WordPress Database
- Log in to your current hosting cPanel
- Open phpMyAdmin
- Select your WordPress database from the left panel
- Click Export at the top
- Choose Quick export method and format as SQL
- Click Go – this downloads a
.sqlfile to your computer
Step 2 – Download All WordPress Files via FTP
Open an FTP client (FileZilla is free and works well). Connect to your current host using your FTP credentials.
Navigate to your site’s root folder (usually public_html) and download everything to your local computer.
This may take a while depending on your site size.
Step 3 – Create a New Database on the New Host
Just like in the plugin method:
- Log into your new cPanel
- Go to MySQL Databases
- Create a new database, a new user, assign the user to the database with full privileges
- Save the credentials
Step 4 – Edit wp-config.php
Open the wp-config.php file you downloaded earlier in a text editor (Notepad or VS Code). Find these lines and update them with your new database details:
define('DB_NAME', 'your_new_db_name');
define('DB_USER', 'your_new_db_user');
define('DB_PASSWORD', 'your_new_db_password');
define('DB_HOST', 'localhost');
Save the file.
Step 5 – Upload Files to the New Host
Connect to your new host via FTP. Upload all the files you downloaded into the public_html folder.
Step 6 – Import the Database
- Log in to your new hosting’s phpMyAdmin
- Select your newly created database
- Click Import
- Choose the
.sqlfile you exported earlier - Click Go
Step 7 – Update URLs in the Database (If Domain Changed)
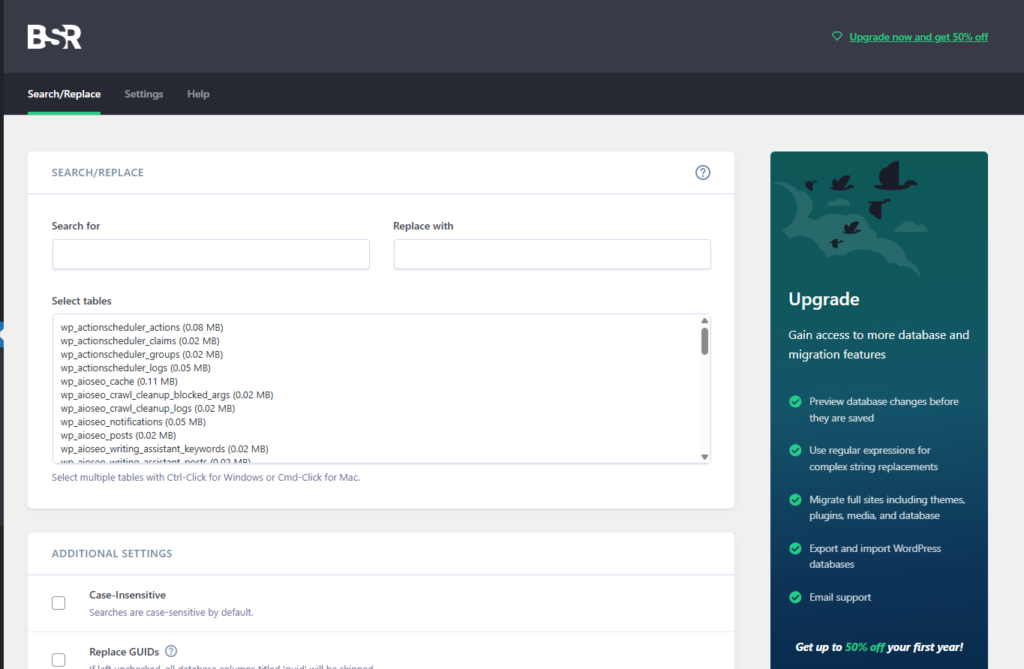
If you are moving to a different domain, you need to update all URL references in the database. The easiest way is to use Better Search Replace plugin.
Install it on the new site, then:
- In Search for: enter your old domain (e.g.,
https://oldsite.com) - In Replace with: enter your new domain (e.g.,
https://newsite.com) - Select all tables and click Run Search/Replace
How to Point Your Domain to the New Host
To migrate WordPress site to new host you must know how to point your domain to the new host. Once your site is working correctly on the new server, it is time to update your DNS.
Go to your domain registrar (where you bought the domain – GoDaddy, Namecheap, etc.) and update the nameservers to point to your new host.
Your new hosting provider will give you the nameservers. On Hostinger, for example, you can find these in your hosting dashboard under DNS / Nameservers.
Important: DNS changes can take anywhere from a few minutes to 48 hours to fully propagate. During this window, some visitors may still see the old site. This is completely normal.
How to Test Your Site Before DNS Propagation
Once you are done with migrate WordPress site to new host you do not have to wait blindly. You can preview your site on the new host before DNS propagates using the hosts file method or by using a staging URL if your new host provides one.
Hostinger provides a temporary URL for every new hosting account, which is a great way to test everything before going live.
Also check:
- All pages load correctly
- Images appear as expected
- Forms and contact pages work
- Your login works on the new dashboard
- WordPress security settings are configured properly on the new host
Recommended: If you haven’t picked a new host yet, we recommend Hostinger – fast servers, free SSL, and easy migration tools. Get started with Hostinger →“
Common Mistakes to Avoid When Migrating WordPress
From real experience, these are the mistakes that trip people up most often when migrate WordPress site to new host:
1. Not taking a full backup before starting Always back up your current site before touching anything. Use a plugin like UpdraftPlus or your host’s built-in backup tool. Read our guide on essential WordPress plugins to find reliable backup options.
2. Forgetting to update wp-config.php If your new database credentials do not match what is in wp-config.php, you will see the dreaded “Error establishing a database connection” error. Learn more about common WordPress errors and how to fix them.
3. Canceling the old host too soon Wait at least 3-5 days after the migration is complete before canceling. DNS propagation + testing takes time.
4. Not checking for broken links or missing images After the migration, run a broken link checker plugin or use a free tool like Screaming Frog to scan your site.
5. Skipping HTTPS configuration Make sure your SSL certificate is active on the new host and that your site loads via https:// without mixed content errors. This ties directly into WordPress security best practices.
After the Migration – What to Do Next
Once everything is live and confirmed working, run through this final checklist:
- Test all forms and WooCommerce checkout (if applicable)
- Confirm your WordPress caching plugin is configured on the new server
- Re-run your SEO plugin settings – check our Rank Math vs Yoast comparison if you have not chosen one yet
- Submit your sitemap to Google Search Console
- Monitor your site speed using GTmetrix or PageSpeed Insights – see our WordPress speed guide for tips
- Cancel old hosting once everything checks out
Frequently Asked Questions (FAQ)
Can I migrate my WordPress site to a new host without any technical skills?
Yes. Using a plugin like Duplicator or All-in-One WP Migration makes the process beginner-friendly. You do not need to touch any code. Just follow the steps in Method 1 above.
Will migrating my WordPress site affect my Google rankings?
Migrating to a faster, more reliable host can actually improve your rankings over time. If you are keeping the same domain and URLs, there should be no negative SEO impact. Just make sure your SSL is set up correctly and redirects are in place if needed.
How long does it take to migrate a WordPress site to a new host?
For a small to medium site, the entire process takes 1-2 hours. Larger sites with thousands of posts or WooCommerce stores may take longer, especially during file upload and database import.
What happens to my email during WordPress migration?
If your email is hosted separately (like Google Workspace), nothing changes. If your email uses the same hosting account, you will need to set it up again on your new host or update your DNS MX records accordingly.
Is it safe to migrate a live WordPress site?
It is best to put your site in maintenance mode before starting, especially for the manual method. This prevents any new data (orders, comments, form submissions) from being lost during the transfer.
What is the best plugin to migrate a WordPress site to a new host?
Duplicator (free version) works well for most sites. For larger sites, Duplicator Pro or All-in-One WP Migration with the paid extension handles big archives more reliably. Both are widely used and trusted in the WordPress community.
Conclusion
Migrating a WordPress site to a new host is not nearly as complicated as it sounds – especially when you follow a clear process. Whether you use the plugin method or go manual, the key is preparation: back up first, keep your old host active during the transition, and test thoroughly before pointing your domain.
If you are still looking for a reliable new home for your WordPress site, we recommend Hostinger – great performance, beginner-friendly dashboard, and one of the most affordable options available.
Have questions about your migration? Drop them in the comments below – we read every one.
Looking for what to do after the move? Check out our guide on how to speed up your WordPress website and make sure your new host is actually performing at its best.