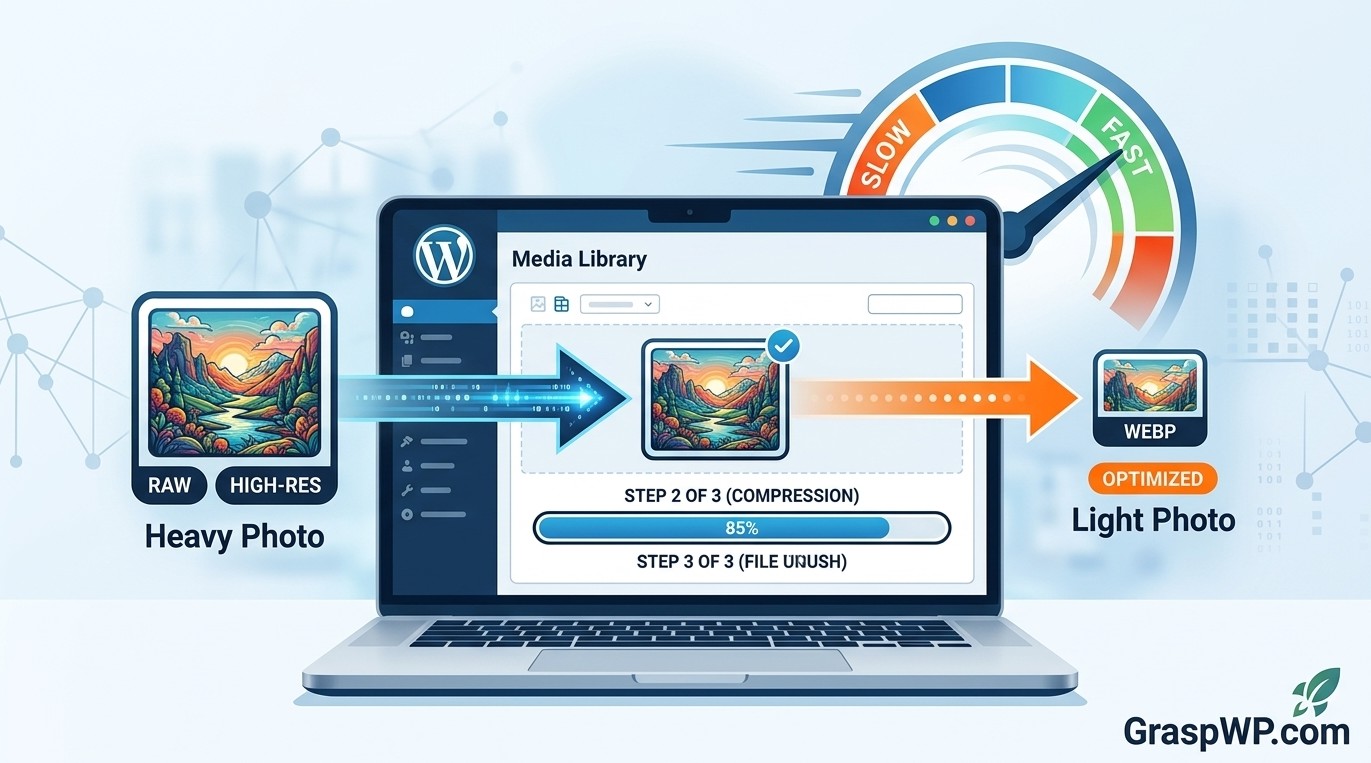
Slow websites lose visitors – and images are almost always the biggest reason behind a slow WordPress site. If you have ever run a speed test and seen “serve images in next-gen formats” or “defer offscreen images,” your images need attention.
Learning how to optimize images in WordPress is one of the highest-impact things you can do for page speed, SEO, and user experience – all at once. In this guide, you will get a clear, beginner-friendly, step-by-step walkthrough covering image compression, format choices, lazy loading, and the best plugins to automate the whole process.
No technical background is required. Let’s get into it.
Table of Contents
Why Image Optimization Matters for Your WordPress Site
Before jumping into the how, it helps to understand the why.
Images often account for 50 to 80 percent of a webpage’s total file size. A single uncompressed photo from a modern smartphone can be 5 MB or more. Multiply that across a page with 10 images, and your visitors are downloading 50 MB just to read a blog post.
Here is what unoptimized images cost you:
- Slower page load times – Google’s research shows that as page load time goes from 1 second to 3 seconds, the probability of a mobile user bouncing increases by 32%.
- Lower search rankings – Page speed is a confirmed Google ranking factor, especially on mobile.
- Poor Core Web Vitals scores – Largest Contentful Paint (LCP), which measures how fast the main image loads, is one of Google’s three Core Web Vitals signals.
- Higher hosting resource usage – Large images eat up server bandwidth and storage, which can push you into higher hosting tiers unnecessarily.
The good news? Most of these problems are fixable in under an hour.
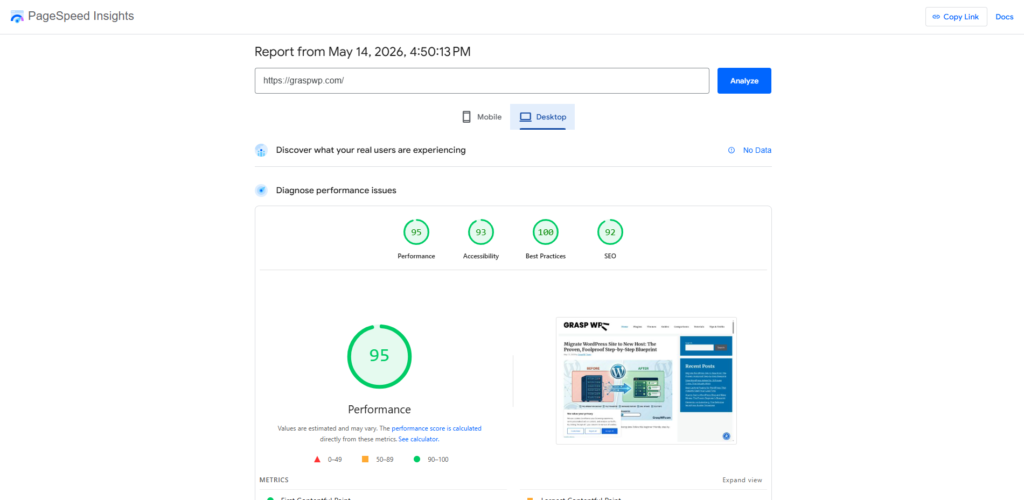
Pro Tip: Before you optimize, run your site through Google PageSpeed Insights to see exactly which images are dragging your score down. Screenshot the report – it is your before-and-after benchmark.
Step 1 – Choose the Right Image Format Before Uploading
The format you upload matters more than most beginners realize. Each format has a specific use case:
JPEG vs PNG vs WebP vs AVIF
| Format | Best For | Avg File Size |
|---|---|---|
| JPEG | Photos, blog post images | Medium |
| PNG | Logos, screenshots with text | Large |
| WebP | Everything – modern browsers | 25-35% smaller than JPEG |
| AVIF | Cutting-edge compression | 50% smaller than JPEG |
| SVG | Icons, simple graphics | Tiny |
The short answer: Use WebP for almost everything. It gives you near-JPEG quality at a significantly smaller file size. All modern browsers support it, and WordPress itself has supported WebP uploads since version 5.8.
If you are using a plugin like Imagify or ShortPixel (covered below), it will automatically convert your images to WebP after upload – so you do not need to manually convert files.
What About PNG?
Only use PNG when you genuinely need a transparent background – for logos placed on different colored backgrounds, for example. For regular photos or blog content images, JPEG or WebP is the right call.
Step 2 – Resize Images to the Correct Display Dimensions
One of the most common beginner mistakes is uploading a 4000 x 3000 pixel image when it will only ever display at 800 x 600 pixels on screen. The extra resolution is completely wasted – but the extra file weight is not.
How to Find the Right Dimensions
- Open your post or page in WordPress.
- Use your browser’s Inspector tool (right-click > Inspect) to check what size the image actually renders at.
- Resize your image to match that width before uploading.
For most WordPress blog post content images, 1200px wide is the sweet spot. It is large enough for high-density (Retina) screens and small enough to keep file sizes manageable.
Free Tools to Resize Images Before Upload
- Squoosh (squoosh.app) – browser-based, no signup, excellent WebP conversion
- GIMP – free desktop app for more control
- Photoshop – if you already have it, use “Save for Web”
Pro Tip: Set a house rule for your site – for example, “all featured images must be exactly 1200 x 630 pixels.” This consistency helps with social sharing previews (Open Graph) and keeps your media library clean.
Step 3 – Compress Images in WordPress
Resizing reduces pixel dimensions. Compression reduces file weight by stripping unnecessary data from the image file – without (in most cases) any visible quality loss.
There are two types:
- Lossy compression – removes some image data permanently. Produces the smallest files. Usually invisible to the human eye at 75-85% quality.
- Lossless compression – removes only metadata (like camera info) without touching actual pixels. Safer but less aggressive.
For most WordPress sites, lossy compression at 80% quality is the sweet spot. Visitors cannot tell the difference, but your page will load significantly faster.
Best Image Compression Plugins for WordPress
Smush (Free)
Smush is one of the most popular free image compression plugins for WordPress. It automatically compresses images on upload and can bulk-smush your existing media library.
How to install Smush:
- Go to Plugins > Add New in your WordPress dashboard.
- Search for “Smush.”
- Click Install Now, then Activate.
- Go to Smush > Bulk Smush and click Bulk Smush Now.
The free version handles most beginner needs. The Pro version adds WebP conversion, CDN delivery, and lazy loading.
ShortPixel (Freemium)
ShortPixel compresses more aggressively than Smush and is often recommended by performance experts. The free plan gives you 100 image credits per month, which is enough for a small blog.
It supports JPEG, PNG, GIF, WebP, and even PDF files.
Imagify (Freemium)
Imagify is made by the same team behind the WP Rocket caching plugin. It has a very clean interface and automatically converts images to WebP. The free plan includes 20 MB of image processing per month.
Which one should you choose? If you are just starting out, install Smush (free). If you need WebP conversion and more aggressive compression, go with ShortPixel or Imagify. All three do the job well.
Step 4 – Enable Lazy Loading for Images in WordPress
Lazy loading means images are only loaded when a visitor scrolls down to where they are visible on screen. Instead of loading all 15 images on page load, only the first 2 or 3 above-the-fold images load immediately. The rest load on demand.
This dramatically improves initial page load time and helps your LCP score.
Good News: WordPress Does This Automatically
Since WordPress 5.5, lazy loading is applied to images by default via the native loading="lazy" HTML attribute. If you are running a reasonably up-to-date version of WordPress, your images are already lazy loading.
You can verify this by right-clicking an image on your site, selecting “Inspect,” and checking if you see loading="lazy" in the image tag.
When to Use a Plugin for Lazy Loading
If your theme or a page builder adds images in a way that bypasses WordPress’s native lazy loading (some sliders and gallery plugins do this), you may need a plugin.
a3 Lazy Load and Flying Images are lightweight free options that cover these edge cases.
Pro Tip: Do NOT lazy load your featured image or the first image visible on the page. These should load immediately since they directly affect LCP. Most plugins handle this automatically, but double-check your settings.
Step 5 – Add Alt Text to Every Image
This step is about both SEO and accessibility, and it is frequently skipped by beginners.
Alt text (alternative text) is a short written description of an image. Search engines read it to understand what the image shows. Screen readers use it to describe images to visually impaired users.
How to Add Alt Text in WordPress
- Click on an image in the Block Editor (Gutenberg).
- In the right-hand panel, find the Alt Text field.
- Write a clear, descriptive phrase – for example: “WordPress media library showing bulk image compression settings.”
Alt Text Best Practices
- Describe what is actually in the image, not just stuff a keyword into it.
- Keep it under 125 characters.
- Use your focus keyword naturally if it genuinely fits the image description.
- Leave alt text empty for purely decorative images (the plugin or theme should mark these as
alt="").
Step 6 – Use a Content Delivery Network (CDN) for Images
A CDN stores copies of your images on servers around the world. When a visitor loads your page, images are delivered from the server closest to them – not from your single hosting server in one location.
This reduces latency and speeds up image delivery for global audiences.
CDN Options for WordPress
- Cloudflare (Free) – easiest to set up, covers your entire site including images
- BunnyCDN – very affordable, excellent performance
- Smush Pro CDN – built directly into the Smush plugin
- JetPack’s Site Accelerator – free CDN specifically for images and static assets
If your site gets traffic from multiple countries, a CDN is one of the most effective investments you can make. You can also refer to our guide on how to speed up your WordPress website for a broader look at performance improvements beyond images.
Step 7 – Serve Images in Next-Gen Formats (WebP)
If you are not already serving WebP, this is one of the quickest wins available.
WebP images are 25 to 35 percent smaller than equivalent JPEG files with no visible quality loss. For a page with 10 photos, that is a meaningful saving.
How to Convert to WebP in WordPress
Option 1 – Use a plugin that does it automatically: Plugins like Imagify, ShortPixel, and Smush Pro will convert uploaded images to WebP and serve them to supported browsers automatically. Your original images are kept as fallbacks.
Option 2 – Use Squoosh manually: Visit squoosh.app, upload your image, choose WebP as the output format, adjust quality to around 80%, and download. Then upload the WebP file to WordPress instead.
Step 8 – Clean Up Your WordPress Media Library
Over time, WordPress media libraries get bloated with:
- Duplicate images uploaded multiple times
- Old images from deleted posts or pages
- Multiple size variations generated by WordPress (thumbnail, medium, large, etc.) for images you no longer use
Media Cleaner and Image Cleanup are two plugins that scan your media library and identify unused files for deletion.
Important: Always back up your site before running a media cleanup. Once images are deleted, they are gone. If you are not sure how to back up, see our complete WordPress security guide which covers backups in detail.
Step 9 – Optimize Your Hosting for Faster Image Delivery
Even perfect image optimization will not fully compensate for slow hosting. If your server itself is slow, your images – however well compressed – will still load slowly.
A fast hosting provider with SSD storage, HTTP/2 support, and servers close to your audience makes a significant difference. We recommend Hostinger for WordPress beginners – it offers fast NVMe SSD storage, LiteSpeed web server (which handles image delivery efficiently), and a free CDN on Business plans and above.
Pair good hosting with good image optimization and you will see a dramatic improvement in your PageSpeed score.
You can also check our tutorial on how to install WordPress on any hosting if you are just getting started.
Common Image Optimization Mistakes to Avoid
Even experienced WordPress users make these errors:
1. Skipping optimization for existing images Installing a plugin handles new uploads automatically, but your old media library stays unoptimized. Always run a bulk compression pass after installing your plugin.
2. Using PNG for photos PNG files are great for graphics but terrible for photographs. Switching photos from PNG to JPEG or WebP can reduce file size by 60 to 80 percent.
3. Forgetting about featured images Featured images are often the largest images on a post. They also directly affect LCP. Make sure they are compressed and properly sized.
4. Lazy loading every single image Do not lazy load the first image visible on the page. This delays LCP and hurts your Core Web Vitals score.
5. Not checking results after optimization Always re-run PageSpeed Insights after optimizing. If your score has not improved, there may be other issues – like a slow server or render-blocking scripts. Our guide on fixing a slow WordPress admin and the best caching plugins for WordPress can help you tackle those next.
Recommended Plugin Stack for Image Optimization
If you want a clean, effective setup without overthinking it, here is what works well for most WordPress sites:
- Compression: ShortPixel or Smush (free tier) for automatic compression and WebP conversion
- Caching: WP Rocket or LiteSpeed Cache (includes image optimization features)
- CDN: Cloudflare (free) or BunnyCDN
- Lazy Loading: WordPress native (no extra plugin needed in most cases)
You do not need all of these at once. Start with a compression plugin. Add a CDN if you have an international audience. Add caching on top for the best results.
For a broader look at must-have plugins, see our guide on essential WordPress plugins every new website needs.
Frequently Ask Questions (FAQ)
How do I bulk optimize images already in my WordPress media library?
Install a plugin like Smush or ShortPixel. Both include a bulk optimization feature in their settings panel. Once activated, go to the plugin’s dashboard and look for a “Bulk Compress” or “Bulk Smush” button. It will process all existing images in your library automatically.
What is the best image size for WordPress blog posts?
For full-width blog post content images, 1200px wide is the standard recommendation. Featured images are typically 1200 x 630px (this also works perfectly for social sharing previews). Always match the image width to the maximum display width in your theme.
Does image compression affect image quality?
With lossy compression at 80 to 85 percent quality, the difference is almost invisible to the human eye – especially on screen. If you are printing images or delivering high-resolution downloads, use lossless compression instead. For web use, lossy is the right choice.
Is lazy loading images safe for SEO?
Yes. Google’s crawlers support the loading="lazy" attribute and can index lazy-loaded images. Just make sure your above-the-fold images (especially featured images) are not lazy loaded, as this directly impacts LCP, a Core Web Vitals metric.
How do I convert existing WordPress images to WebP?
The easiest way is to use a plugin like Imagify or ShortPixel. After installing and running a bulk optimization pass, these plugins will regenerate your images in WebP format and serve them to browsers that support it automatically. No manual conversion needed.
Will image optimization alone fix my PageSpeed score?
Images are usually the largest opportunity, but not the only one. After optimizing images, you may also want to address caching, render-blocking scripts, and server response time. Check out our guide on how to speed up your WordPress website to tackle those areas.
Conclusion
Image optimization is not a one-time task – it is a habit worth building into your publishing workflow. The steps you have covered here work together:
- Choose the right format (WebP where possible)
- Resize to actual display dimensions before uploading
- Compress with a plugin like Smush or ShortPixel
- Serve images via a CDN for faster global delivery
- Add meaningful alt text for SEO and accessibility
- Let WordPress handle lazy loading natively
- Periodically clean your media library
If you implement even half of these steps today, you will see a measurable improvement in your site’s load time and PageSpeed score.
Ready to take it further? Check out our full guide on how to speed up your WordPress website for a complete performance checklist that goes beyond images. And if you are still on slow shared hosting, consider switching to Hostinger – a fast host is the foundation everything else builds on.
Have a question about image optimization? Drop it in the comments below – we read every one.